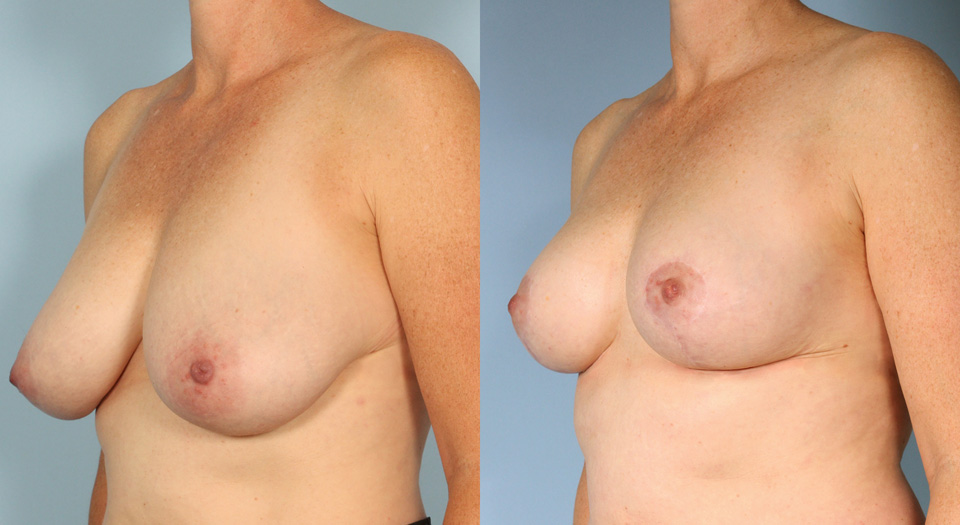
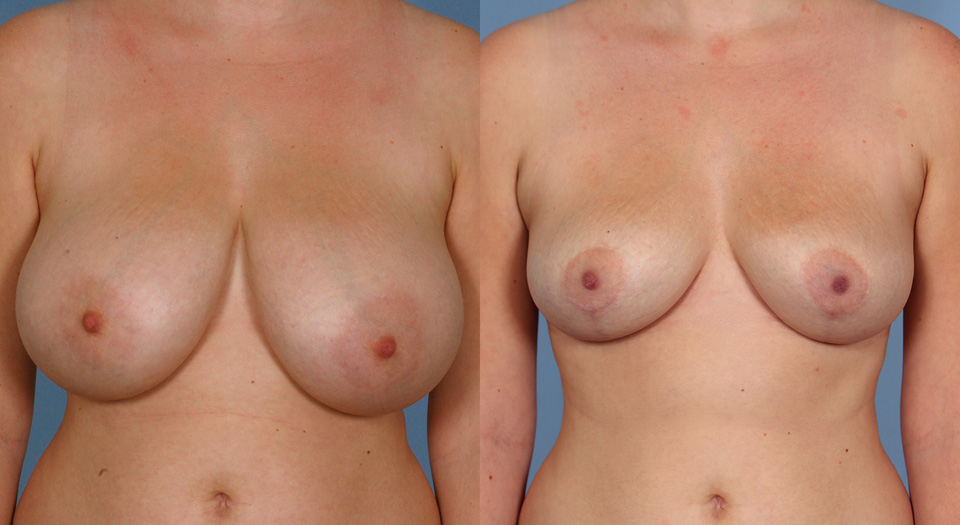
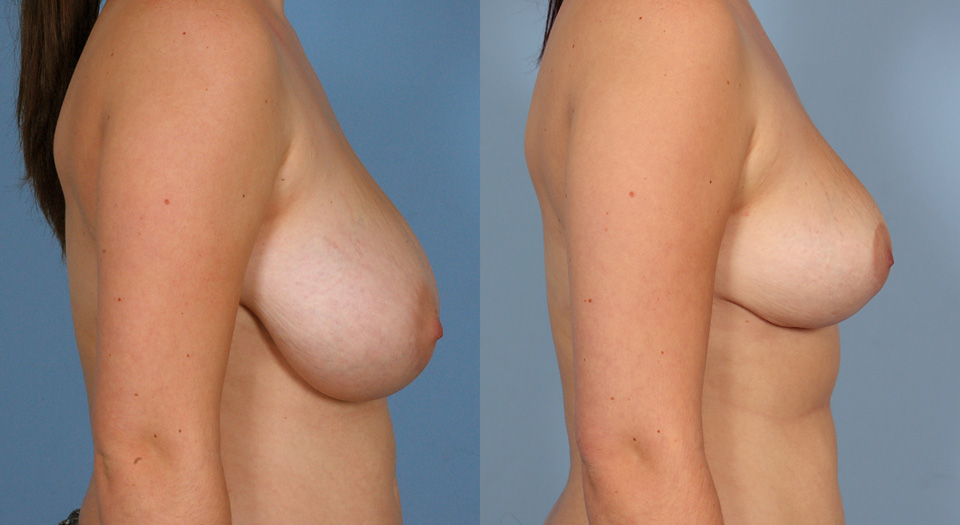
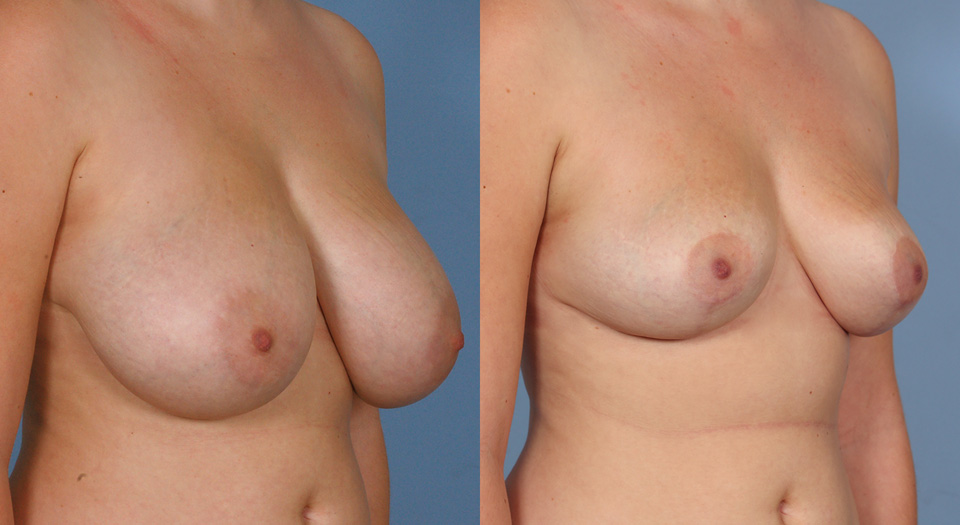
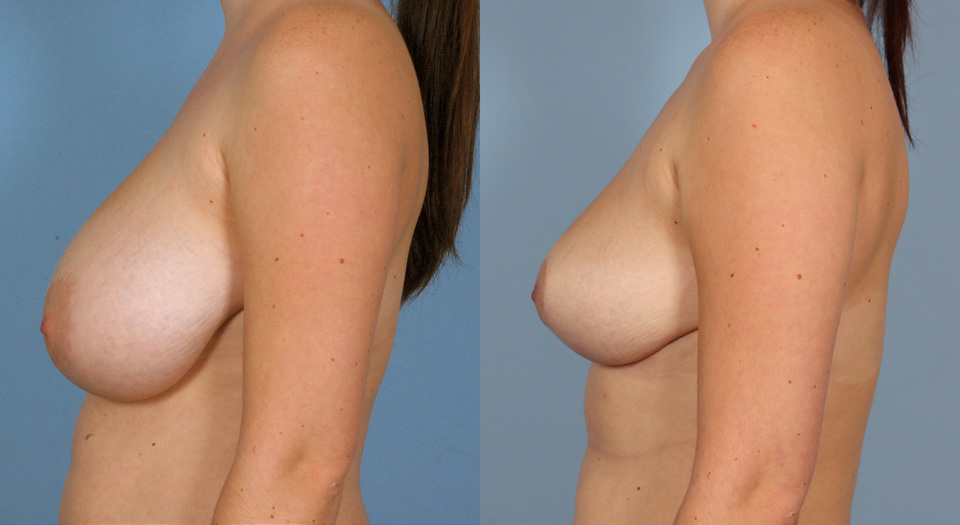
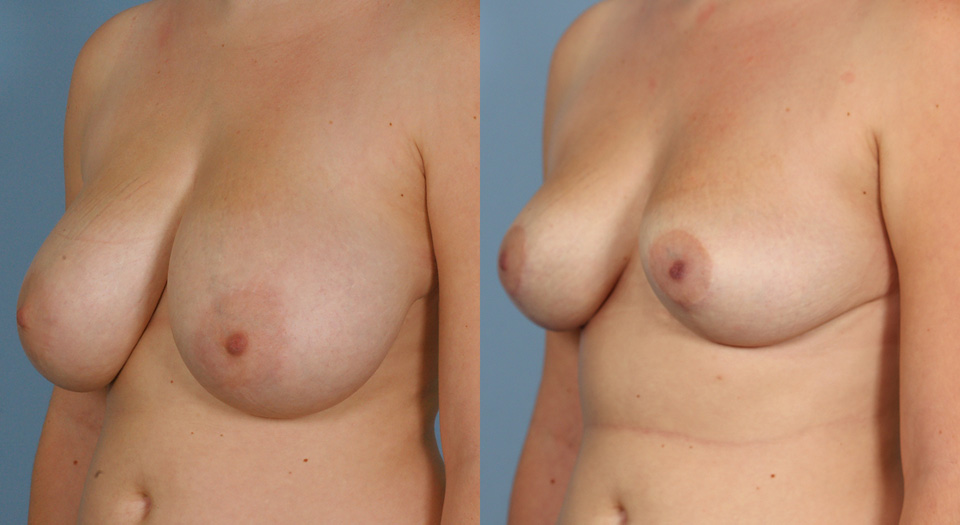
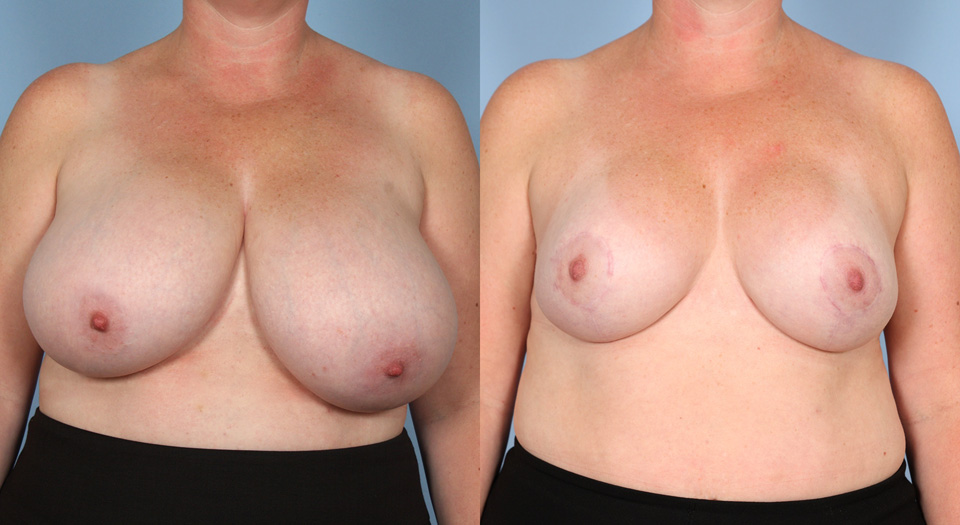
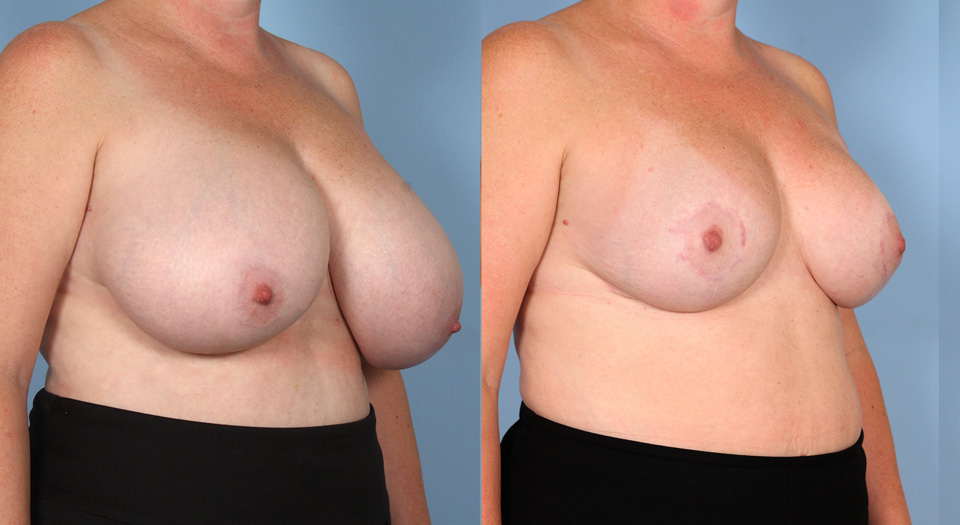
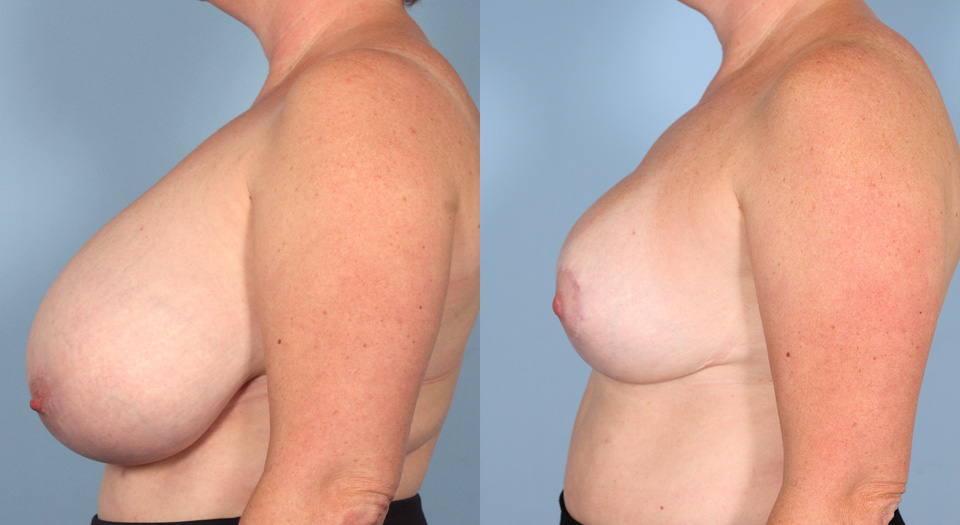
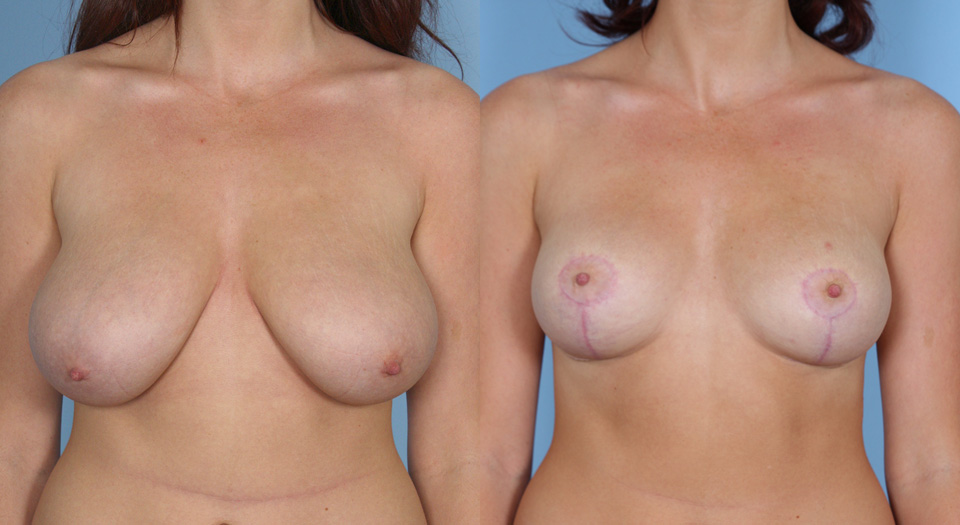
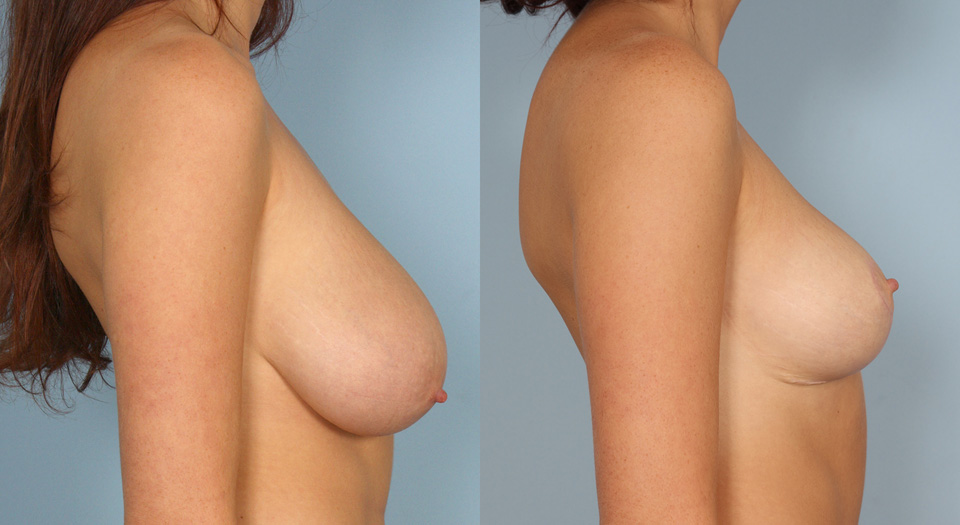
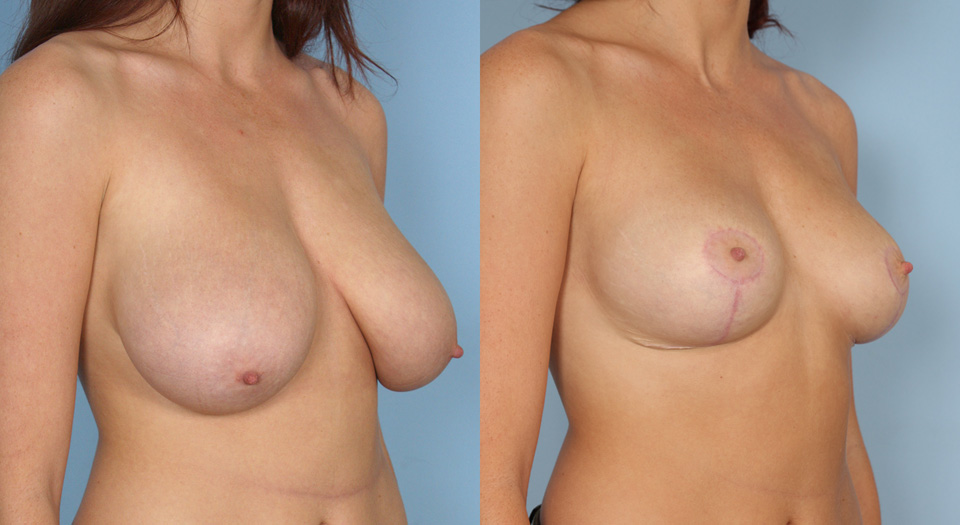
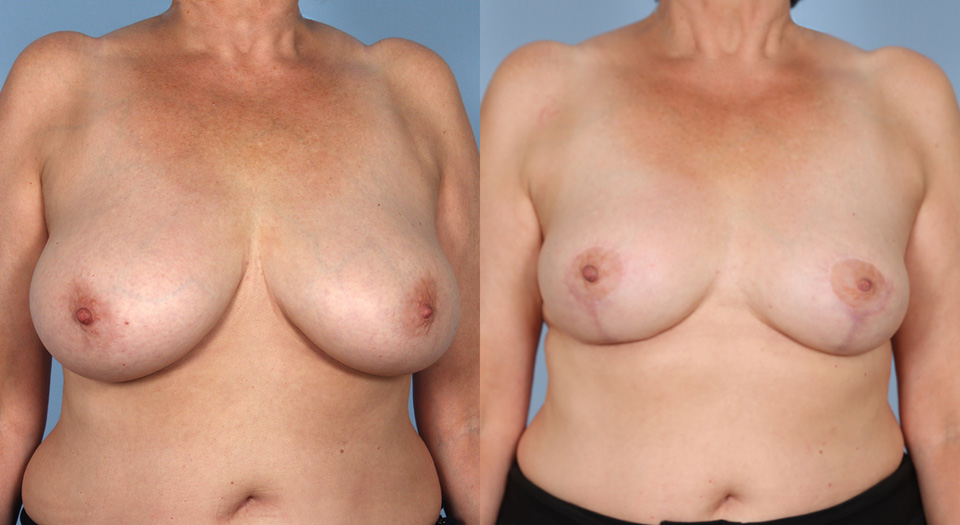
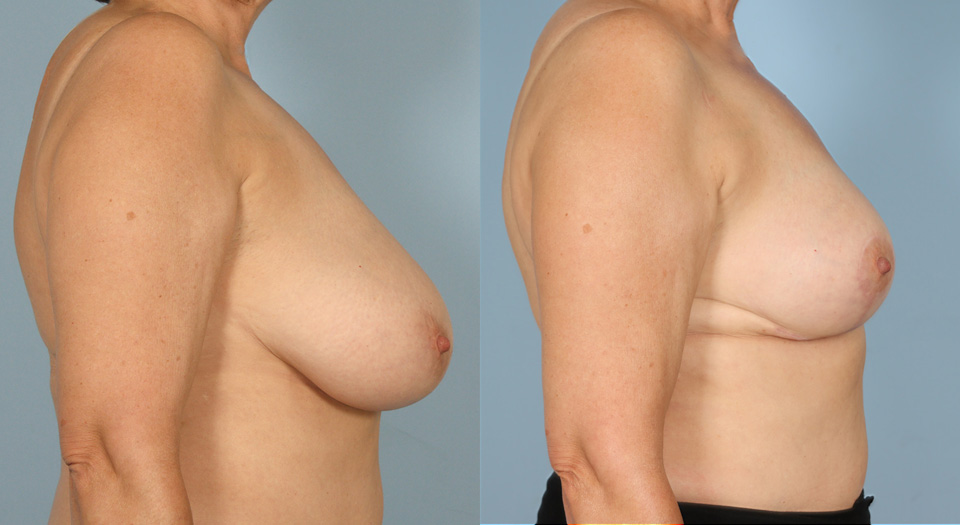
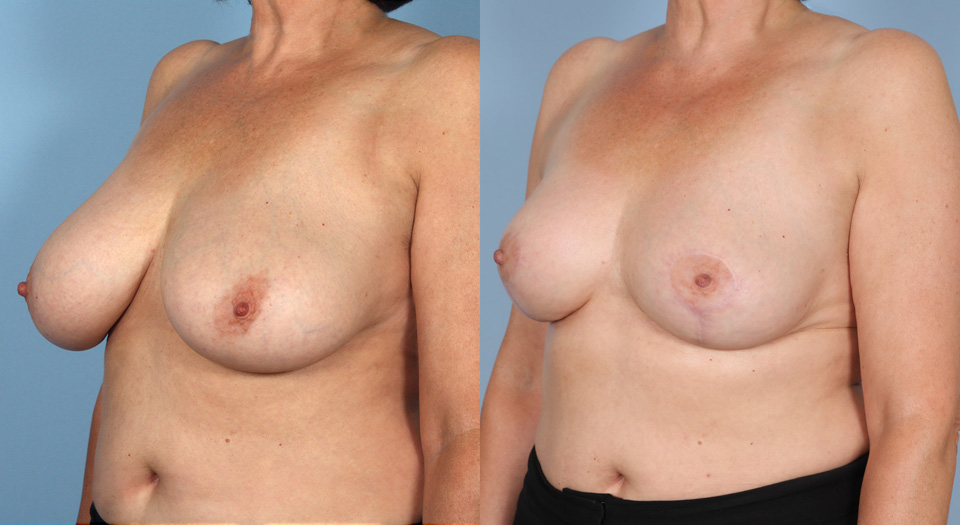
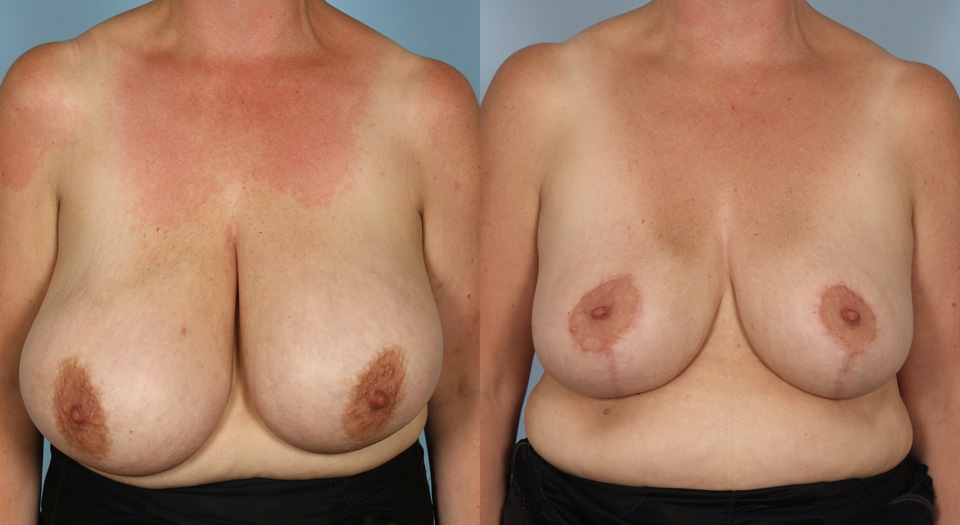
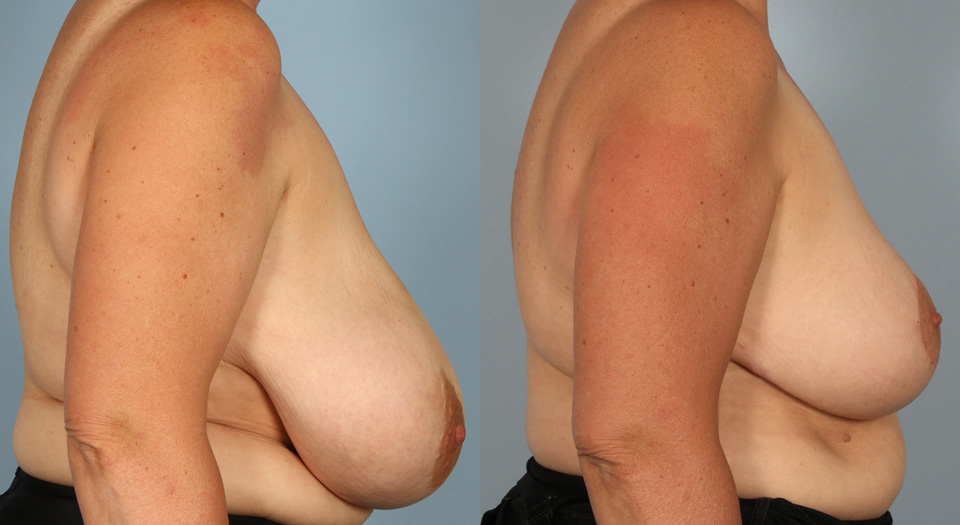
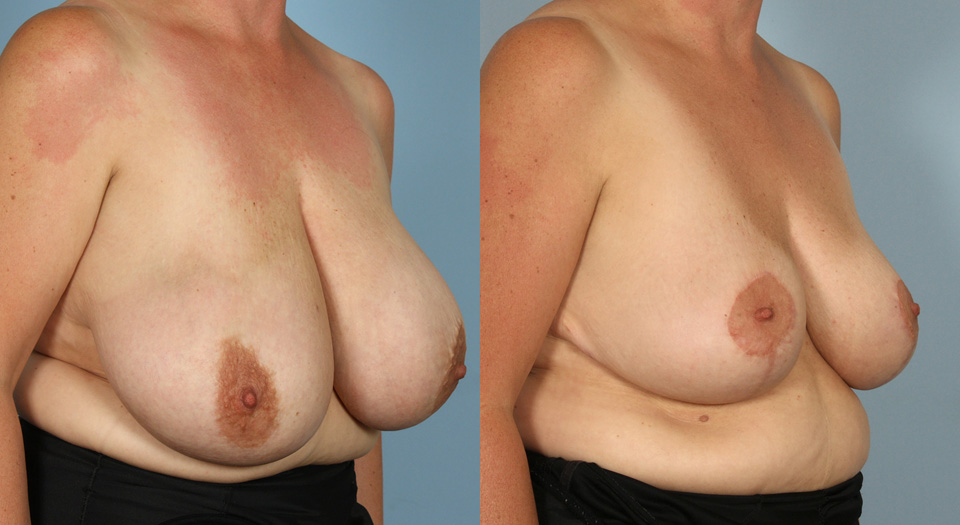
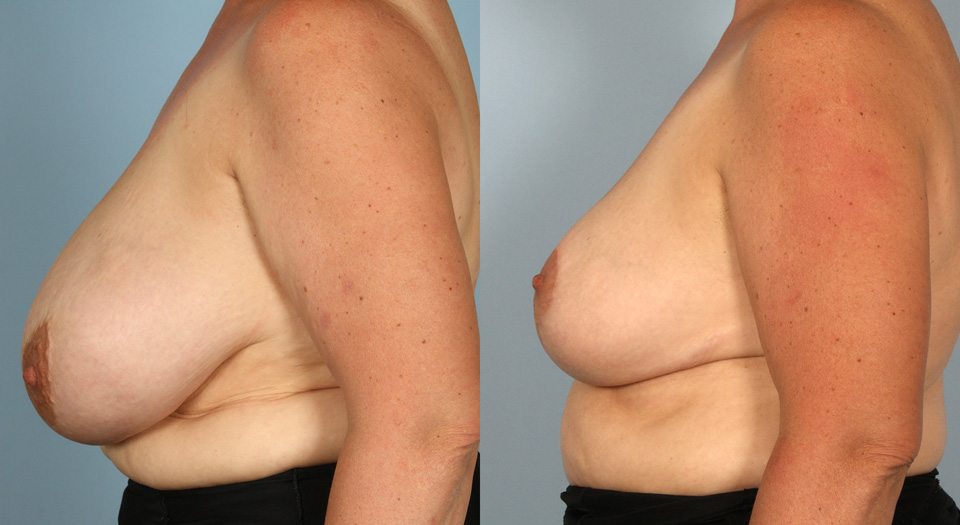
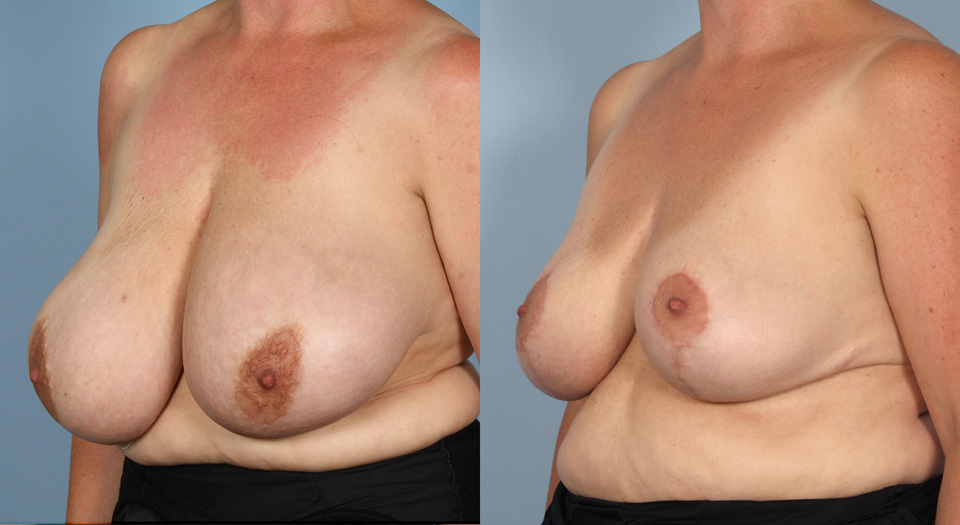
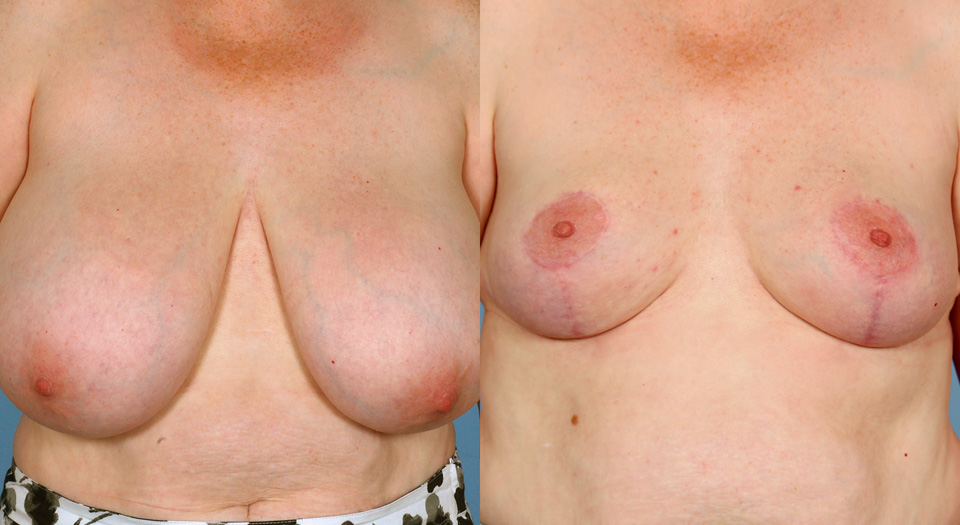
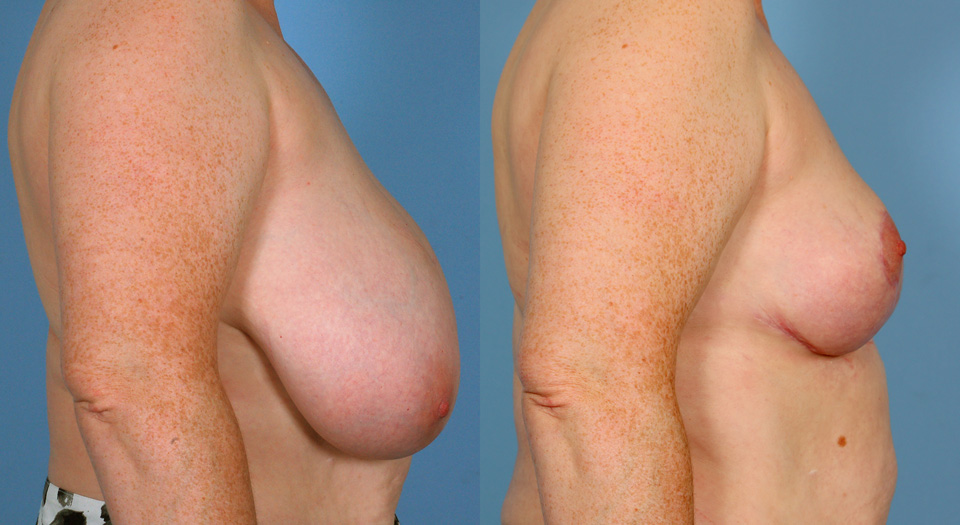
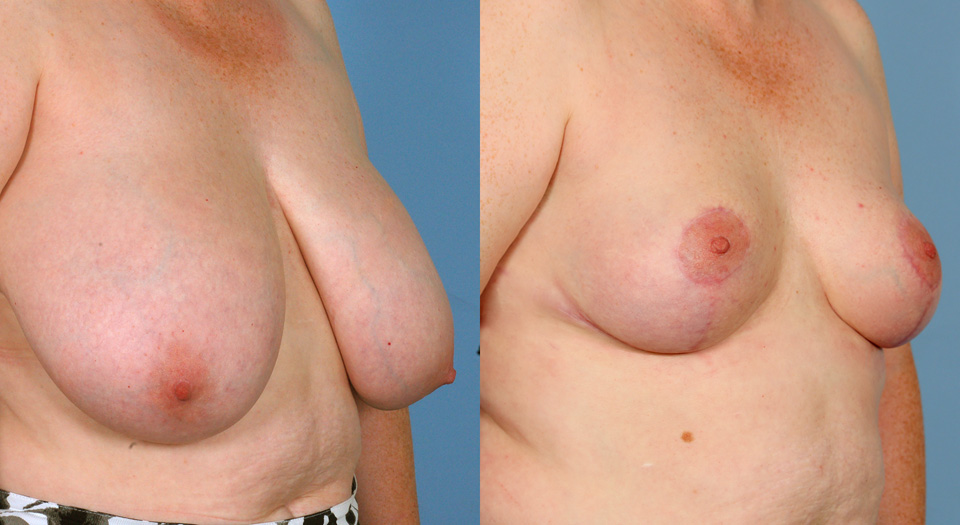
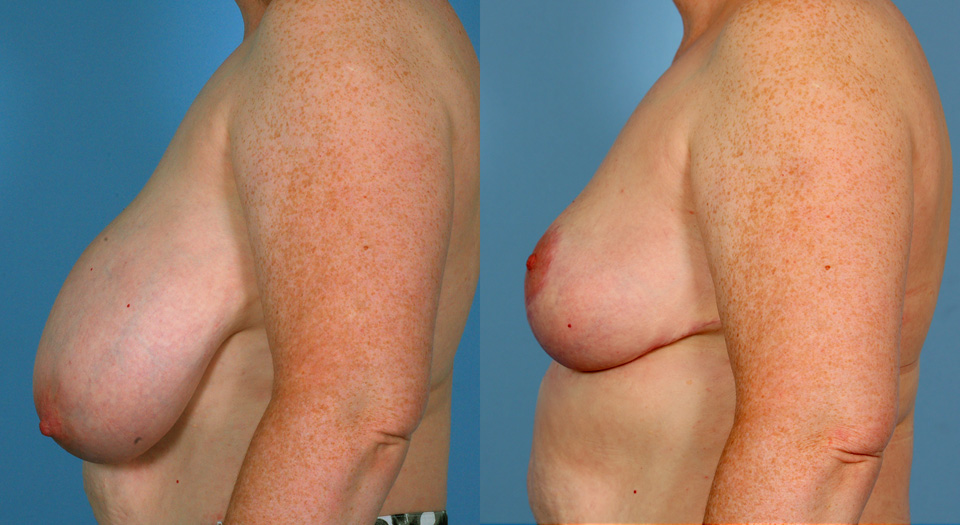
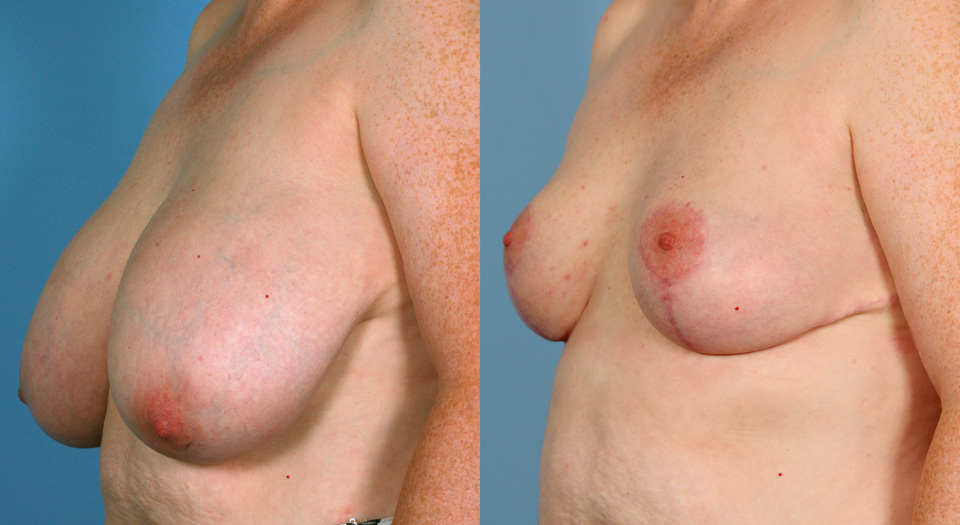
Breast Reduction
Tap on photos to see more views
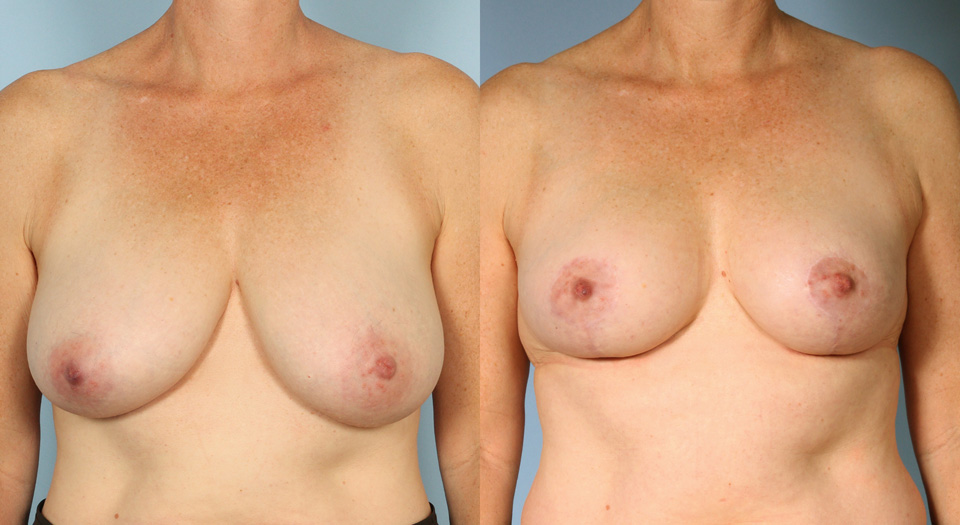
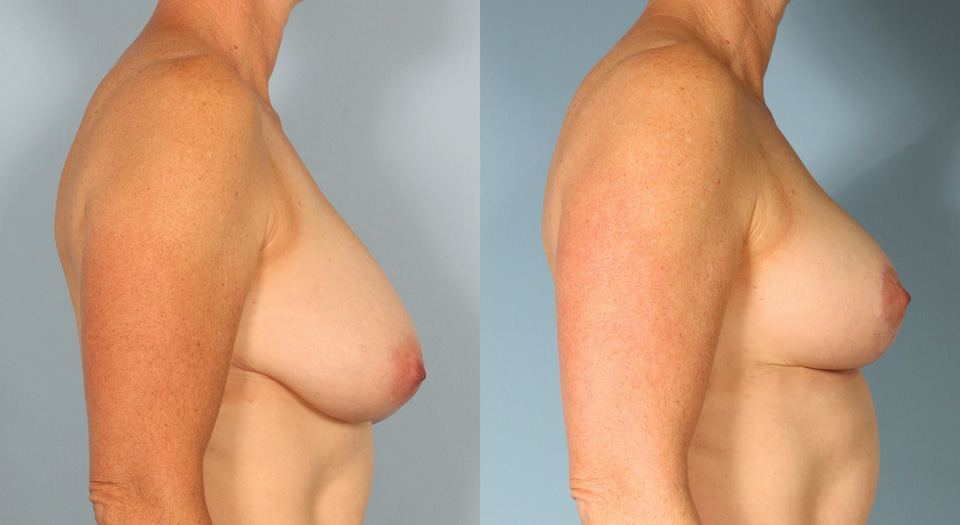
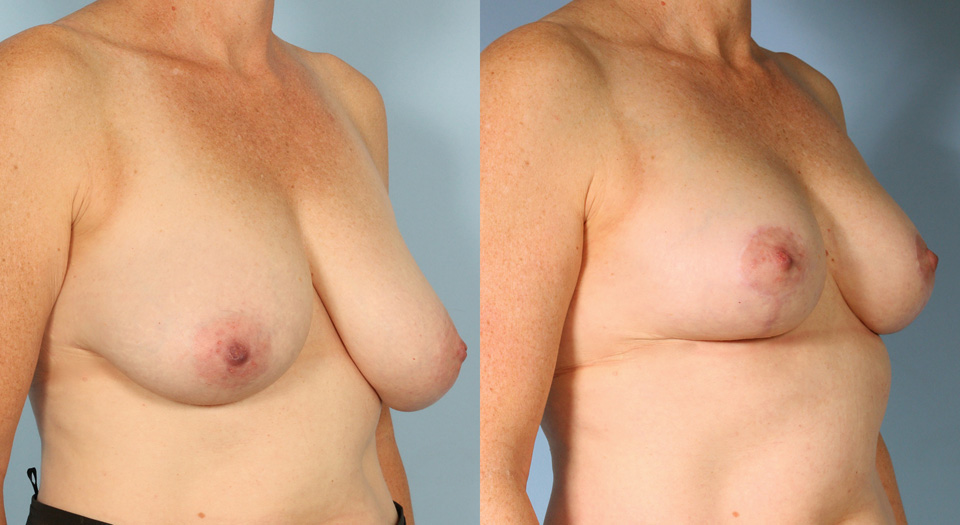
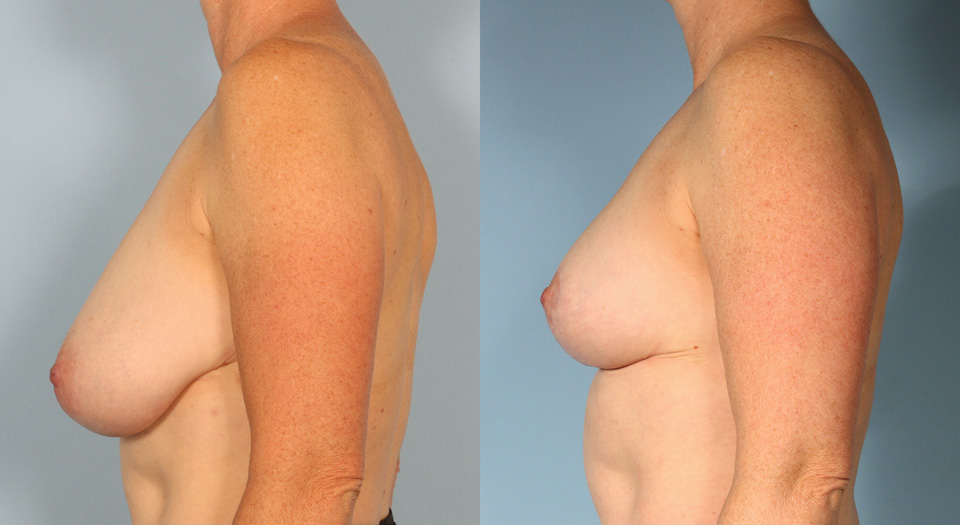


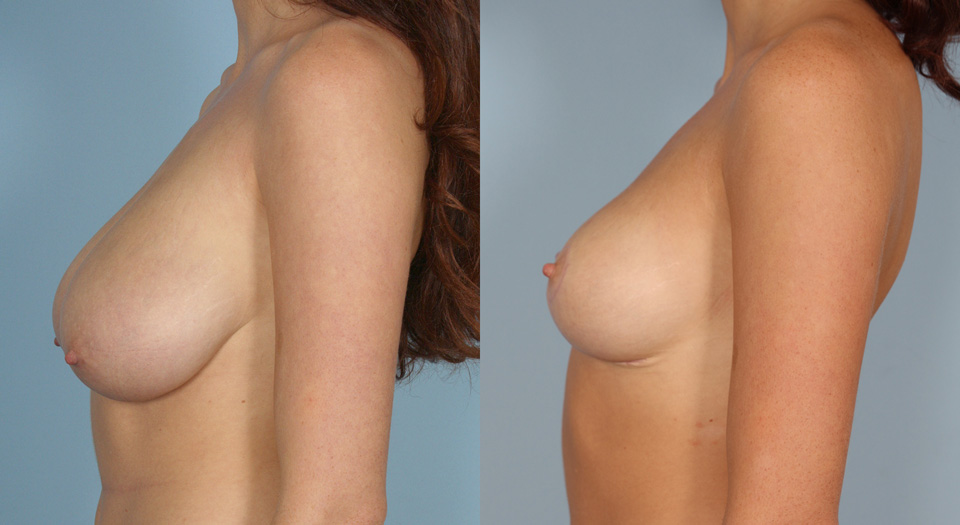
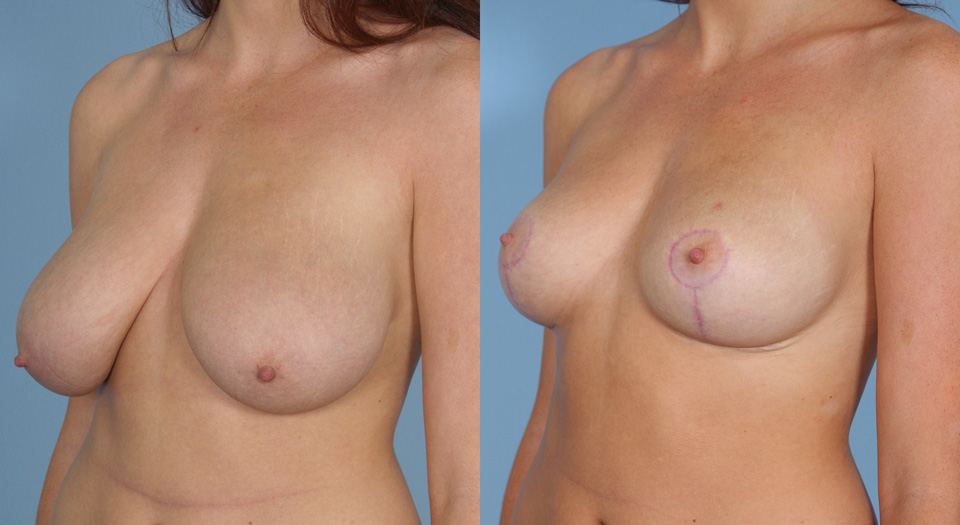
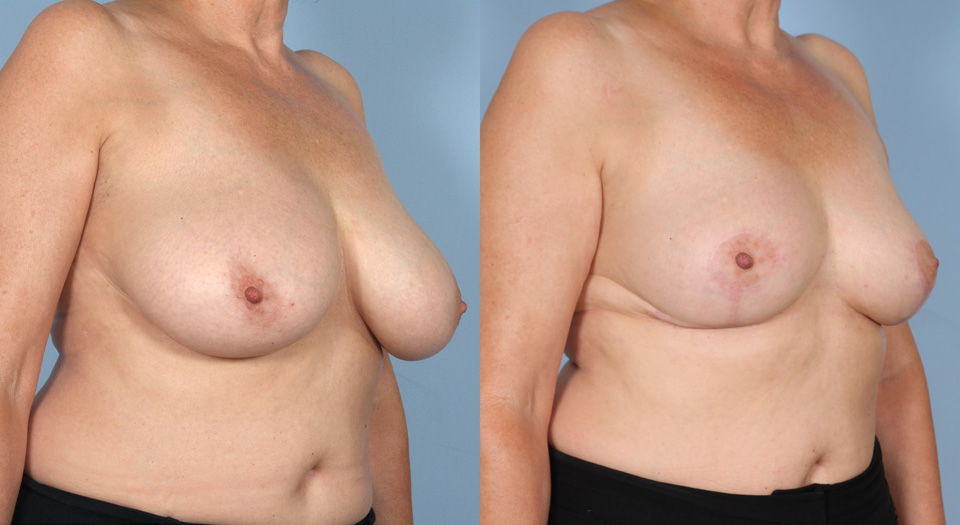
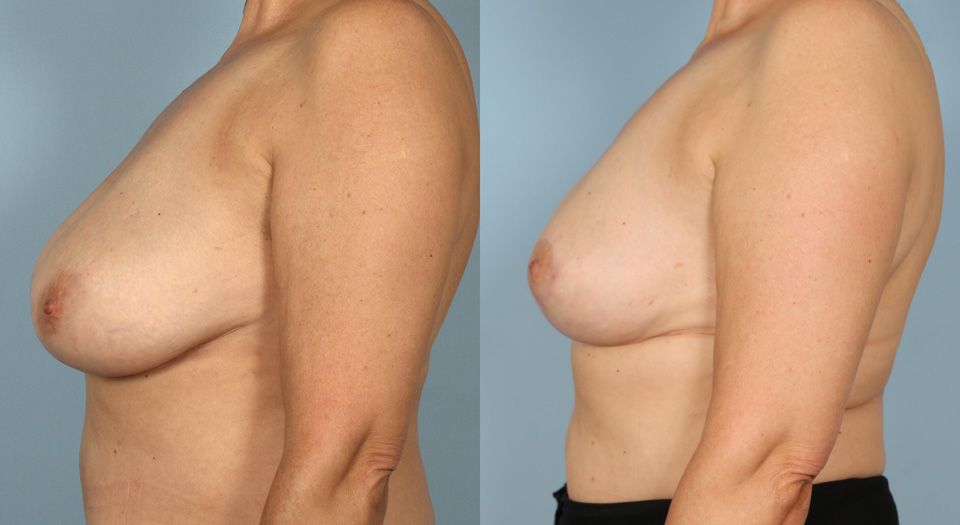
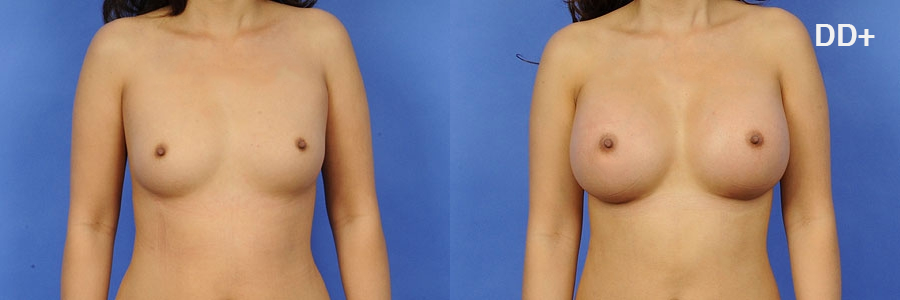
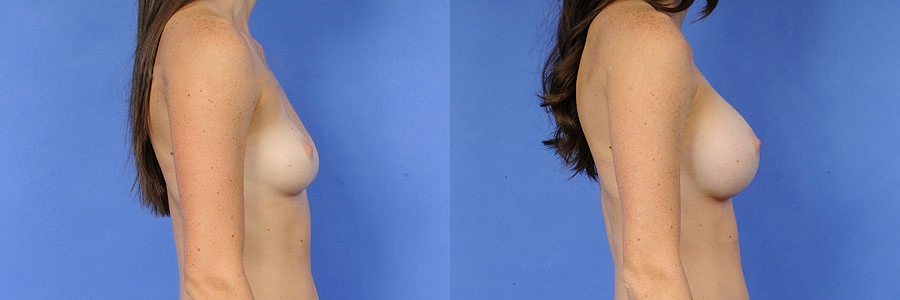
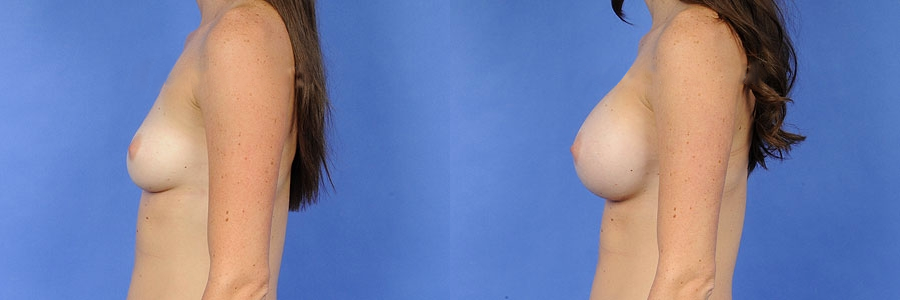

Breast augmentation
B cup to D cup
Saline implants, teardrop shape
Reference: 478
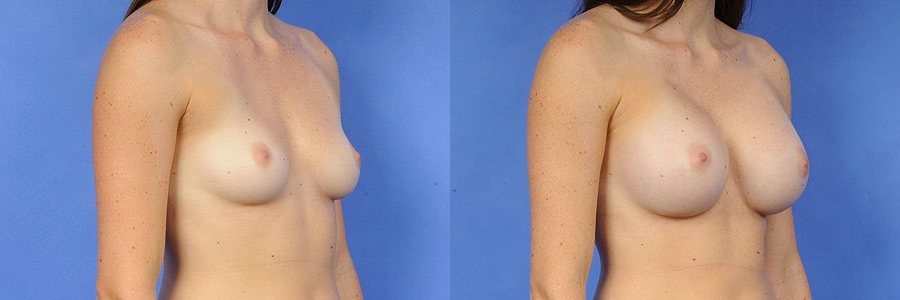
B cup to D cup
Saline implants, teardrop shape
Reference: 478